Creating your first zone in Blender
If you haven't read the Getting Started, It is recommend to start there.
These instructions were written using Blender 2.93.5, but should apply to all versions of blender v2.80 or higher.
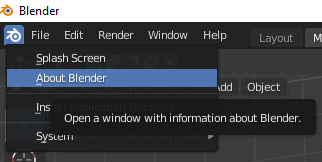
If you have Blender and aren't sure what version you are on, you can check that here:
Otherwise you will want to visit here to get Blender. It currently shows 3.0, which shouldn't cause much of a change to the process.
Making an extremely basic zone using Blender and Eqgzi
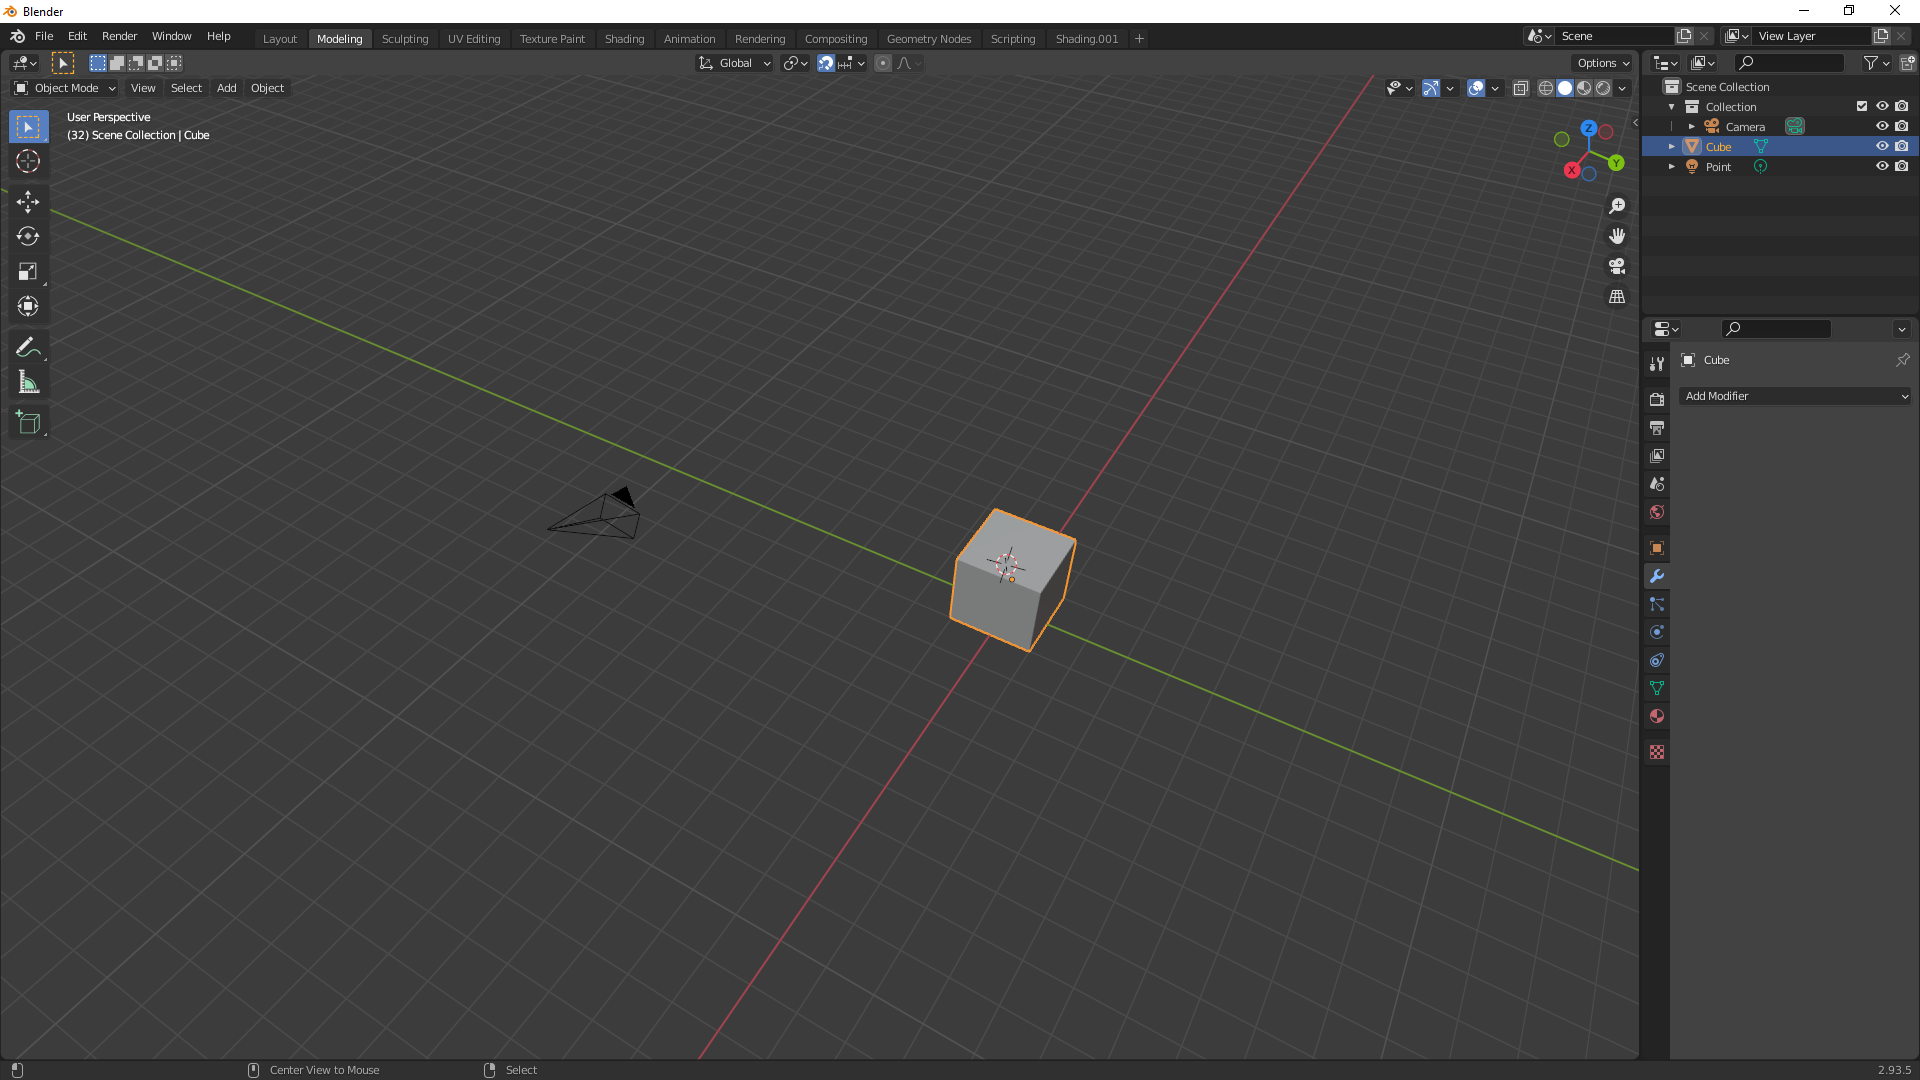
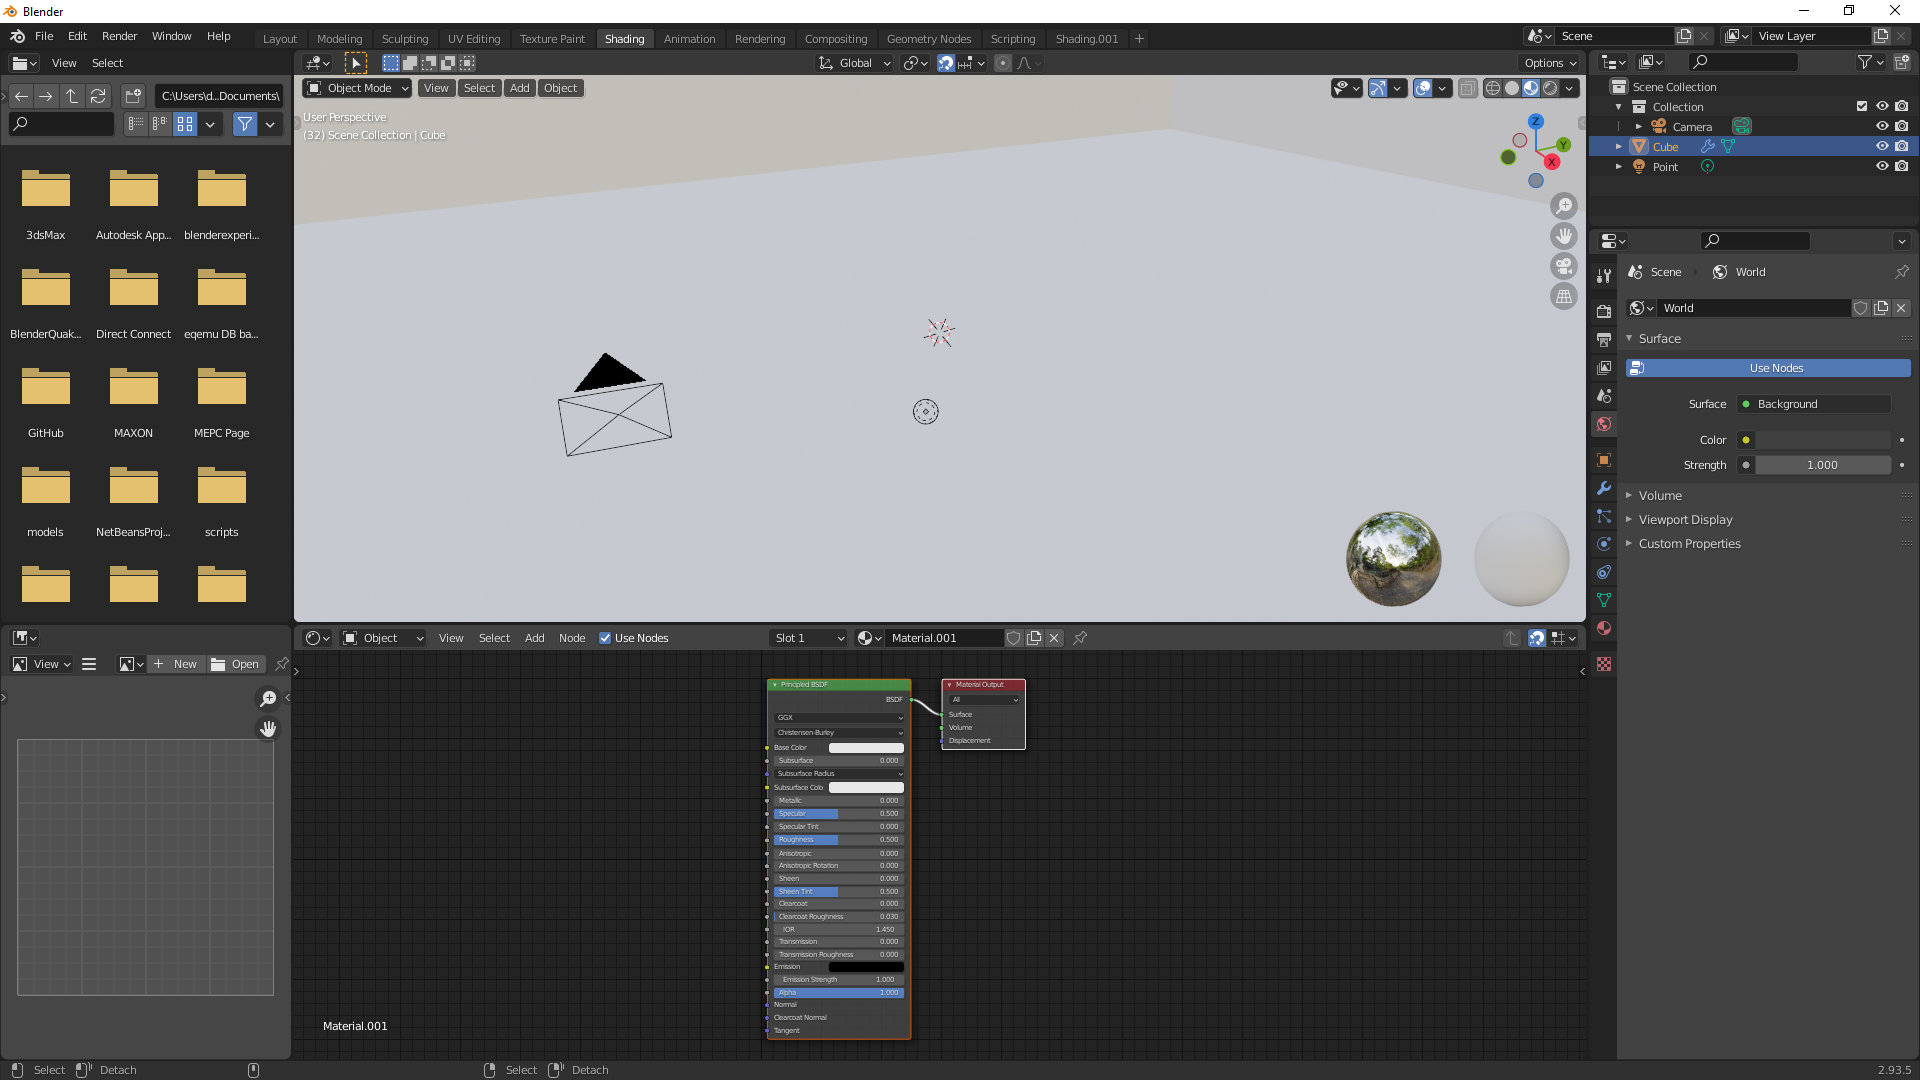
Now that all setup has hopefully gone well, you are probably hoping to be able to do something useful with it all. To start, get blender going, you should end up with a scene something like this one:
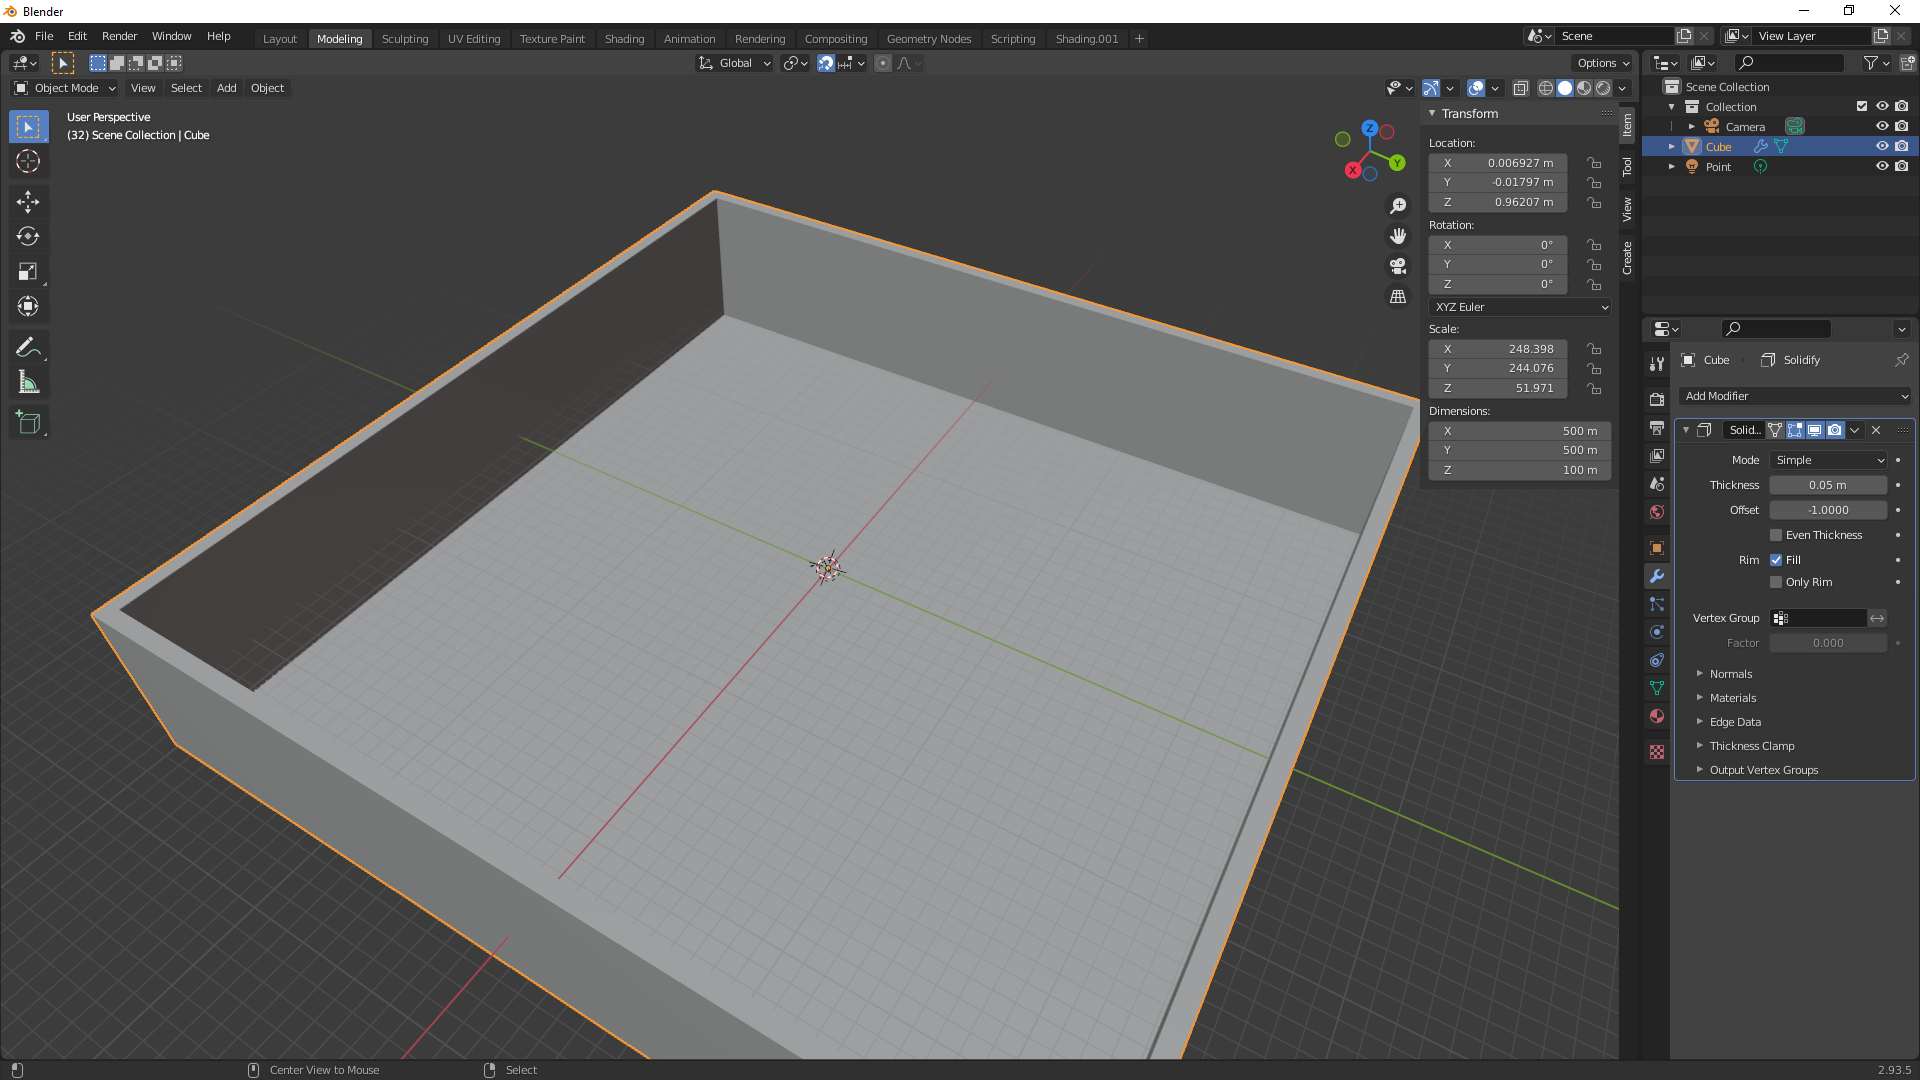
This is not a Blender tutorial however, it is more of a how to get blender to do what we want for eqgzi tutorial. There are many tutorials out there, but for this example we are just going to make a simple box with an open top, the first shape you are shown how to make here. When you are done making the box, can use the scale tool to make it bigger, or press 'N' on your keyboard to adjust its dimensions directly. For convenience in future tutorials, I'm going to make the X 500M, Y 500M, and the Z 100M like shown here:
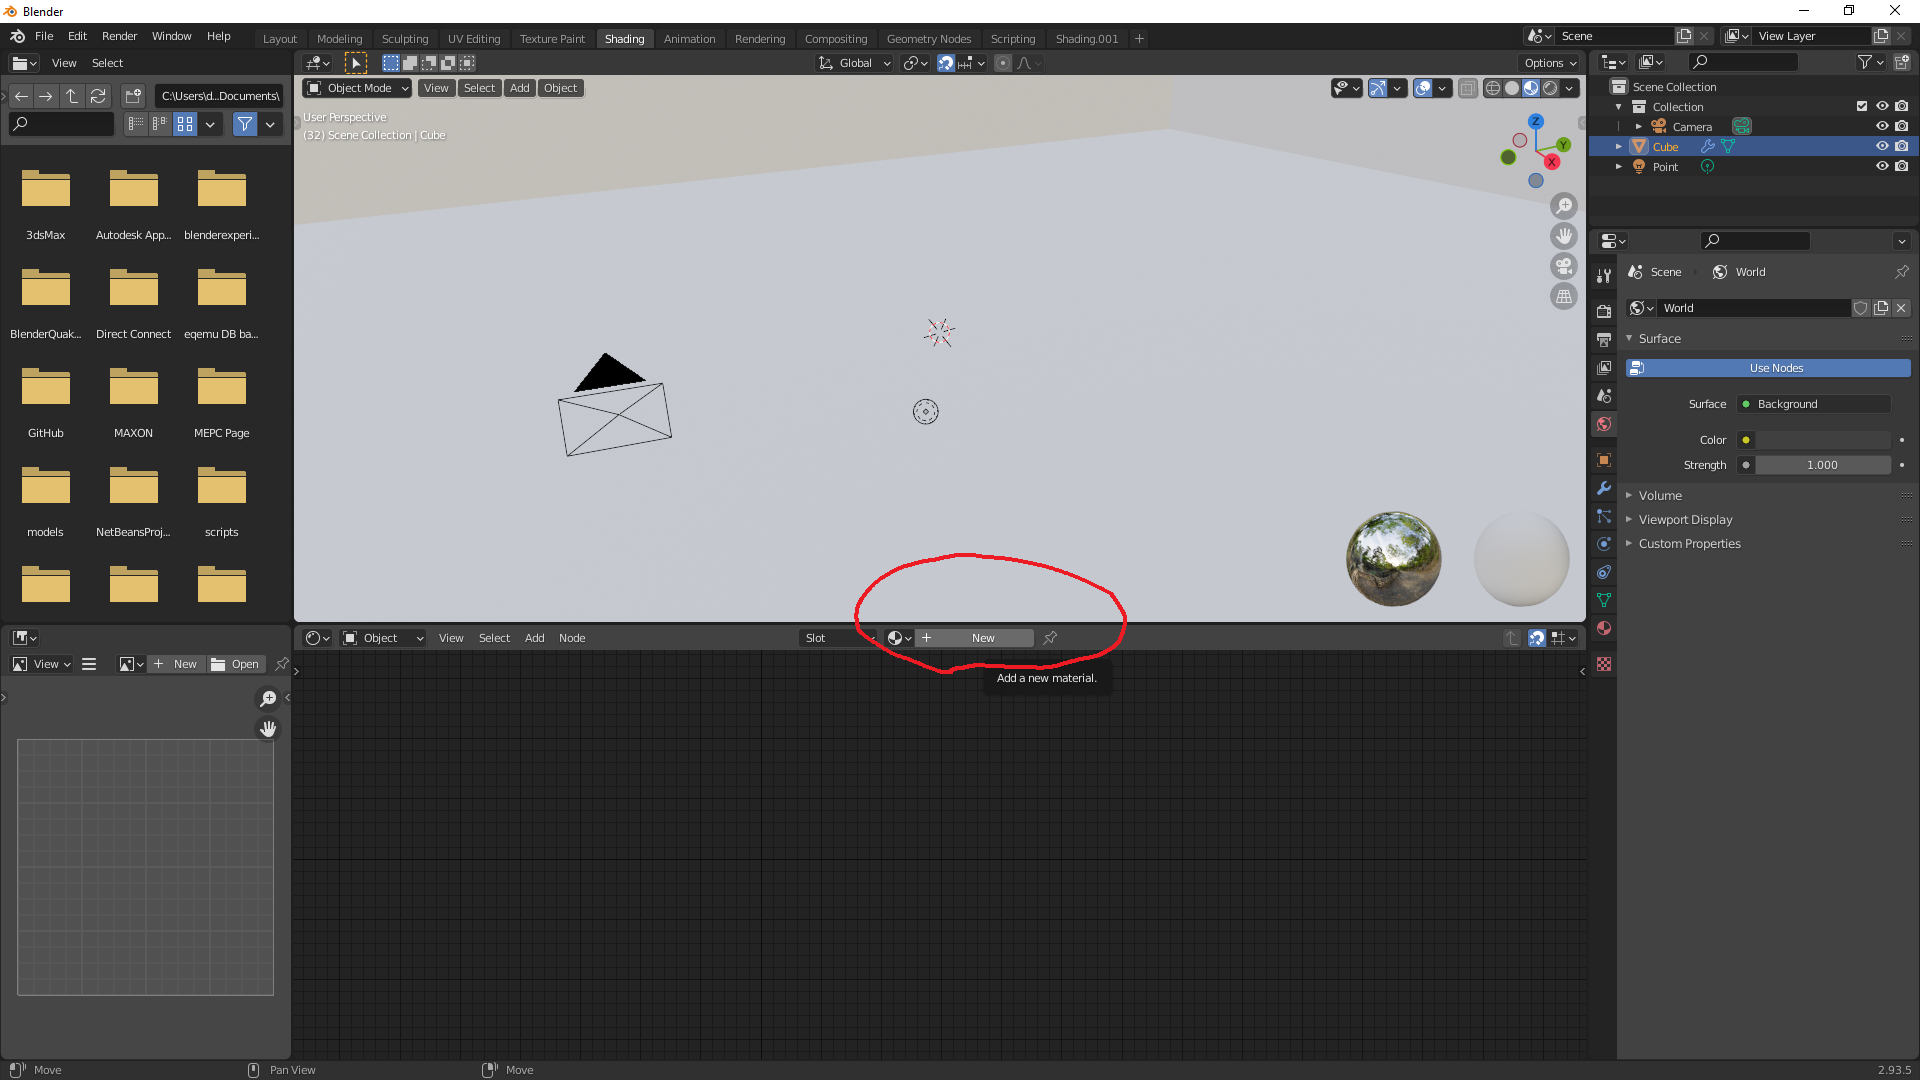
So now we have a fantastical empty gray box, and it will work, but seizure warning if you do turn this into an eqg. Next step we will need to add a shader/material to the box. To start, we click on the 'Shader' tab near the top, then click 'New' near the middle (I circled it in red so it'd be easier to spot).
After clicking new, a whole bunch of stuff will pop up, don't worry too much about this right now.
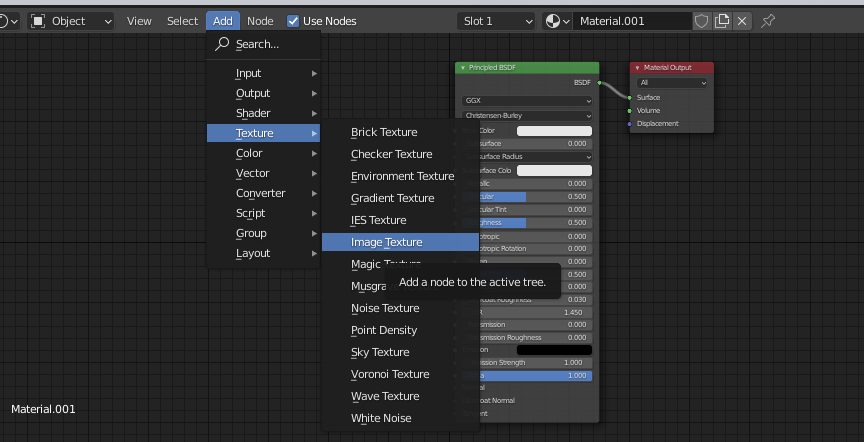
For the next step you can pretty much add any dds file you want, but for those not feeling too creative about that, I have included a dds for you here. You will want to keep track of this file for later, it will need to be in the same location we save our .blend later. For now though, just right click on the Add button (to the left of the New button), then under the texture tab, click on Image Texture.
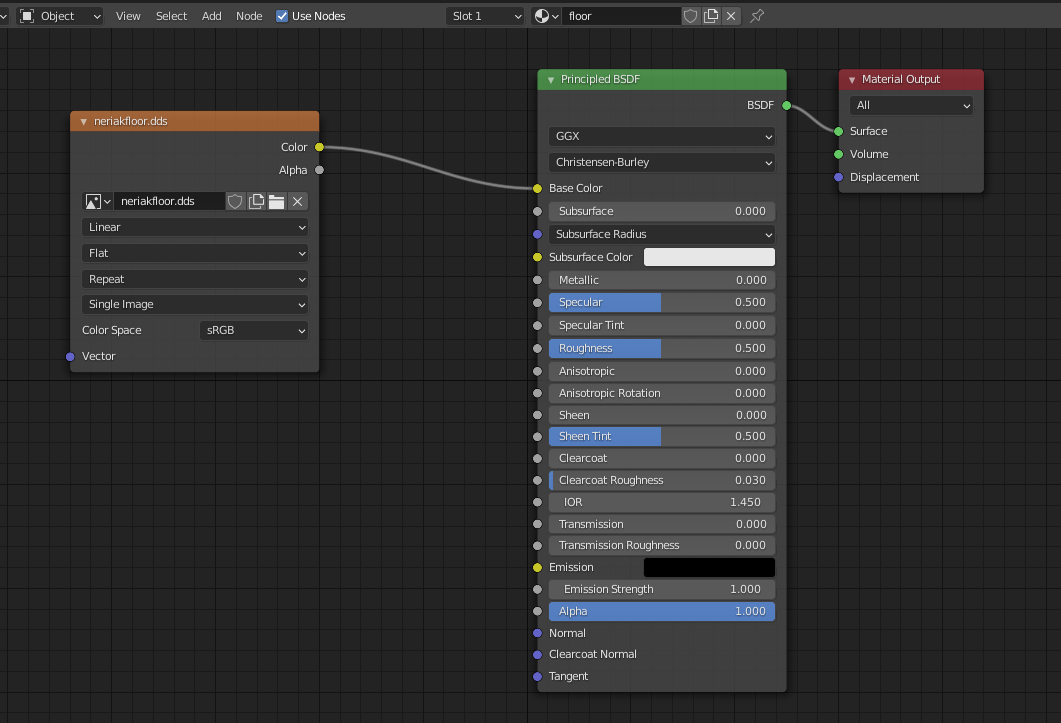
Next use the open button to find wherever you decided to put the dds you will be using.

After that you will want to drag the circle next to color and connect it to the Base Color of the Principled BSDF. While we are at that, Material 001 is a pretty awful name, lets rename that to floor.
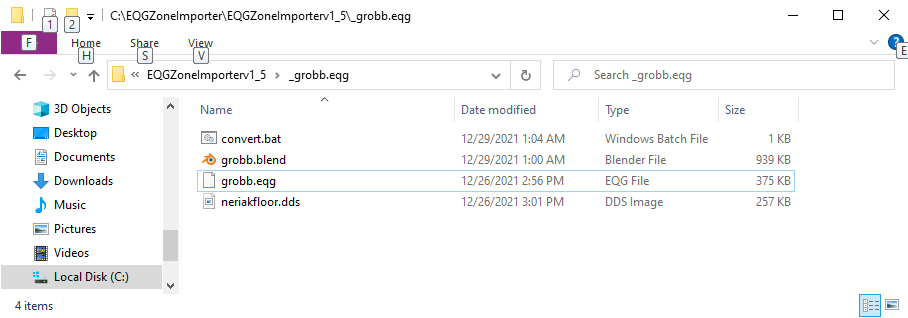
Now we have a very basic box, with a very basic texture, that isn't scaled well at all. If the scale really bothers you, you can adjust it using UV Editing, but not going to worry about that here. As far as the basic blend project goes, we are now good to go, for my example we will be saving it as grobb.blend. I don't think the location particularly matters, but in my case that location is C:\EQGZoneImporter\EQGZoneImporterv1_5\_grobb.eqg The end folder's name is _grobb.eqg
A few more files will be needed for the process to work, to save you the trouble of spelunking for them, I have provided them here. I included grobb.blend as well in case your blender adventure didn't end so well. Currently, the folder should look something like this:
Some adjustment of the 'convert.bat' file will likely be necessary, unless you decided you loved my file structure so much you opted to emulate it. For my convert.bat, it looks something like this:
set zone=grobb
blender --background %zone%.blend --python C:\EQGZoneImporter\EQGZoneImporterv1_5\convert.py
eqgzi import %zone%.obj %zone%.eqg
copy %zone%_emit.txt ..\%zone%_EnvironmentEmitters.txt
The part you will most likely need to adjust as you make new zones will be the first line where you set the zone, but for this first run you will want to ensure you have the right path for convert.py.
Assuming you edited it properly to point to the right locations, it should now be as simple as running convert.bat, then copying over grobb.eqg to a client you want to try it out in. I recommend doing it somewhere you have GM permissions, as #goto is going to help a lot right here. For me personally I like to add the other 2 lines at the end of convert.bat as well to save myself the effort:
copy C:\EQGZoneImporter\EQGZoneImporterv1_5\_grobb.eqg\grobb.eqg c:\TestServer\ /y
start "" "c:\Users\..\TEST eqgame.exe - Shortcut.lnk"
Assuming all went well, using #goto 0 0 0 should present a scene something like this.
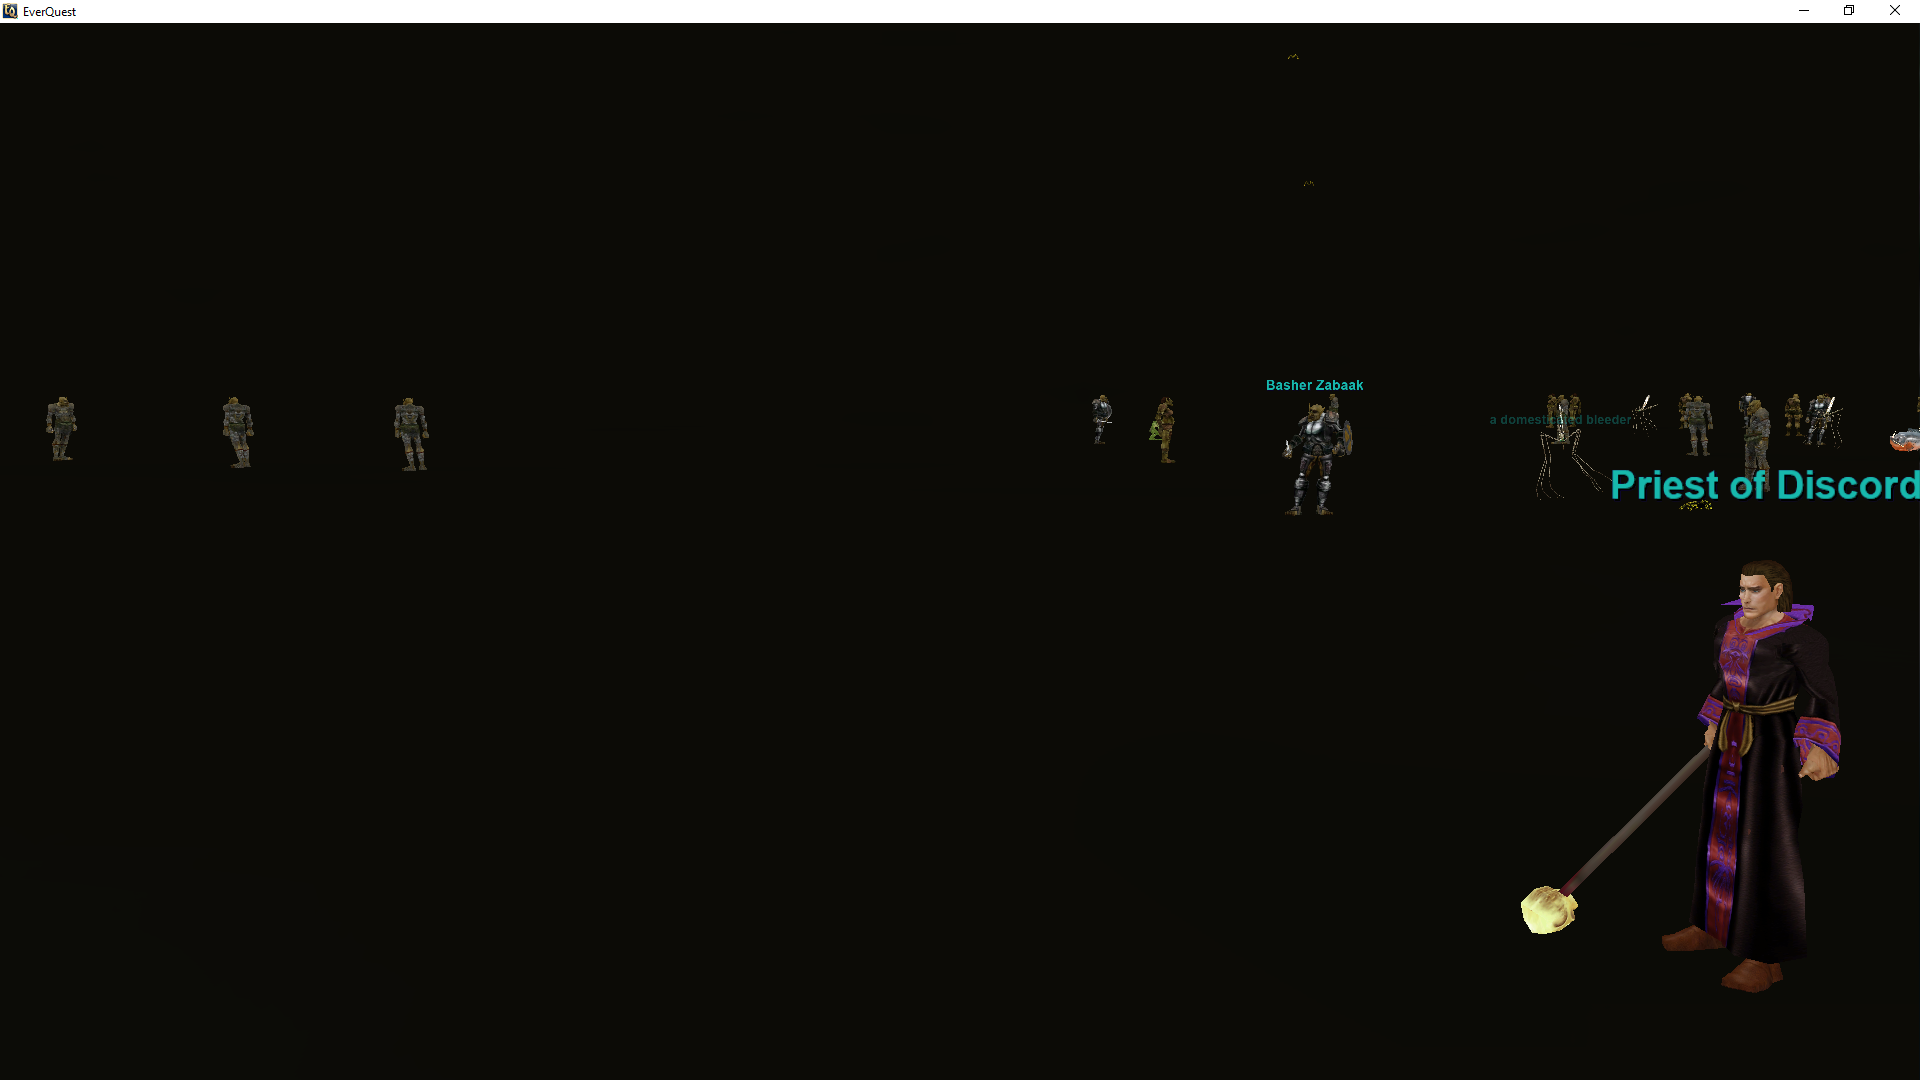
Yes it is very dark, and yes the texture is scaled terribly right now. We will talk about how to add some lights and a waterfall in the next section. I have included the output I got as well if you needed to compare/contrast for whatever reason.
Todo DZ
- Add a section on how to add some lights and a waterfall graphic
- Add a section on how to add a lava region.
Initial setup:
- Create new pages for each 3d modeling tool, e.g. Maya, 3ds max, and basically the manual process until we write plugins to support each one.
- Start documenting object types in blender, custom properties supported, and how to do various feature injections (with the different 3d modeling pages, perhaps we can generically create this page for all of them to refer to)