Advanced Getting Started with EQGZI
This tutorial is the old, more manual way to get started with EQGZI.
What is EQGZI?
As of 01/01/2022, EQGZI is a program that turns a 3d modeled project into an everquest EQG zone file. It uses the OBJ format as an intermediary export, and supports: Lights, Environment Emitters, Material/Shader definitions, Region, and Spawn placement data.
Folder structure
Each zone should have it's own unique folder for eqgzi to operate properly. It expects a folder structure similar to:
- zone/ - root folder eqgzi is ran from
- zone/sql/ - folder created during convert.py execution, contains any .sql files that can optinally be ran on a server database to inject data
- zone/cache/ - temporary folder convert.py places .obj, .mtl, textures (.dds), and definitions (zone_light.txt, etc)
- zone/out/ - output folder with files to copy to your eqgame directory
Requirements
-
EQGZI. If you get a report about a virus, you'll need to ignore it. Xackery is still investigating the root cause of why there's a virus being reported, but you can see the VirusTotal results here, a Fugrafa variant is reported. Interestingly, only eqgzi.exe only reports this. The eqgzi-gui.exe file, which runs nearly the exact same code, just a gui version, does not.
-
Zone Utilities. This is used for navmesh and water map generation. This can vary on setup, but when you use Akka's installer, it'll download maps to the EQEMU path under maps. You'll see a tools subfolder in there, with awater.exe and azone.exe. Or, you can download the entire maps and grab the contents in the tools subdir.
-
Any 3D Modeling program that can export to OBJ. The best support and recommended program is Blender v2.8 or above. It is free. If you don't use blender, you will lose out a lot of convienences, but can still do all operations manually during the /cache/ step.
Environment Setup
- Edit your system environment variables
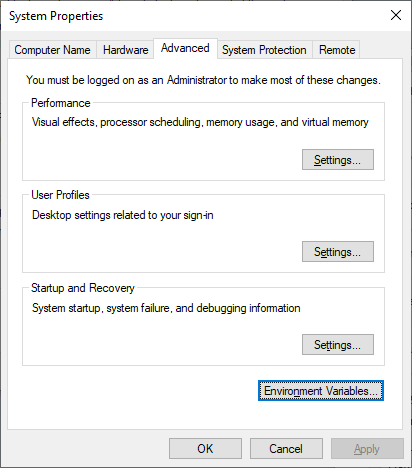
- Click the Advanced tab, find the Environment Variables button
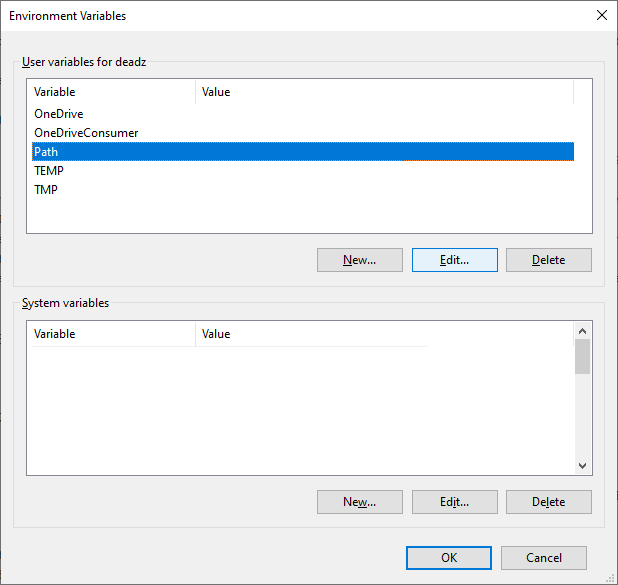
Highlight Path, then Edit...
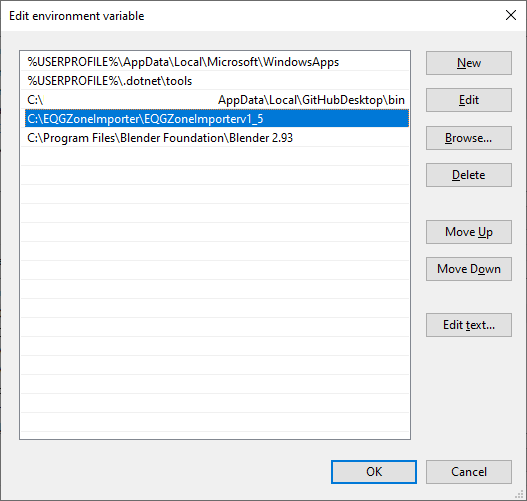
- Add a New entry and set to the path eqgzi was extracted to, e.g.
C:\EQGZoneImporter\EQGZoneImporterv1_5\ - Add a New entry and set to the path blender is installed at, e.g.
C:\Program Files\Blender Foundation\Blender 2.93\ - Add a New entry and set to the path azone and awater is installed at, e.g.
C:\bin\eq\zone-utils\. This step is optional if you don't want to automate navmesh generation.
Create your first zone
First, you need to create a zone file. This depends on your 3d modeling program. Some links for this include:
Converting your zone
To convert a zone, I recommend using the convert.bat file. Read through it and modify any :: change notes to match your environment. Currently it is built for blender on the first step, in the future we hope to add support for other tools.
If successful, your zone/out/ folder will have an eqg file generated.
To break down the process a conversion does:
blender --background %zone%.blend --python C:\src\eqgzi\out\convert.py || goto :errorwill take a provided .blend file and export it and all data to the cache subfolder.eqgzi import %zone% || goto :errorwill look for the cache subfolder and process data found within it, spitting out results into the out subfolderazone %zone% || goto :errorgenerates a .map file, that then gets placed into the map subfolderawater %zone% || goto :errorgenerates a .wtr file, that then gets placed into the map subfoldercopy out\* c:\src\demoncia\client\rof\ || goto :errorcopies the out subfolder to your eqgame directory
If you aren't using blender, you'll need to skip the blender step, and export and edit files found inside the cache folder by hand.
Further reading and configuration
- Shader List - A list of shaders
- Blender Custom Properties - A list of custom properties supported by EQGZI inside Blender